AI Skin Tone Restoration for Old Portraits: Why It Matters and How to Get It Right
Master AI skin tone restoration for old portraits — fix orange casts, gray faces, and uneven color on vintage black and white photos using modern colorization models.
 (opens in new tab)
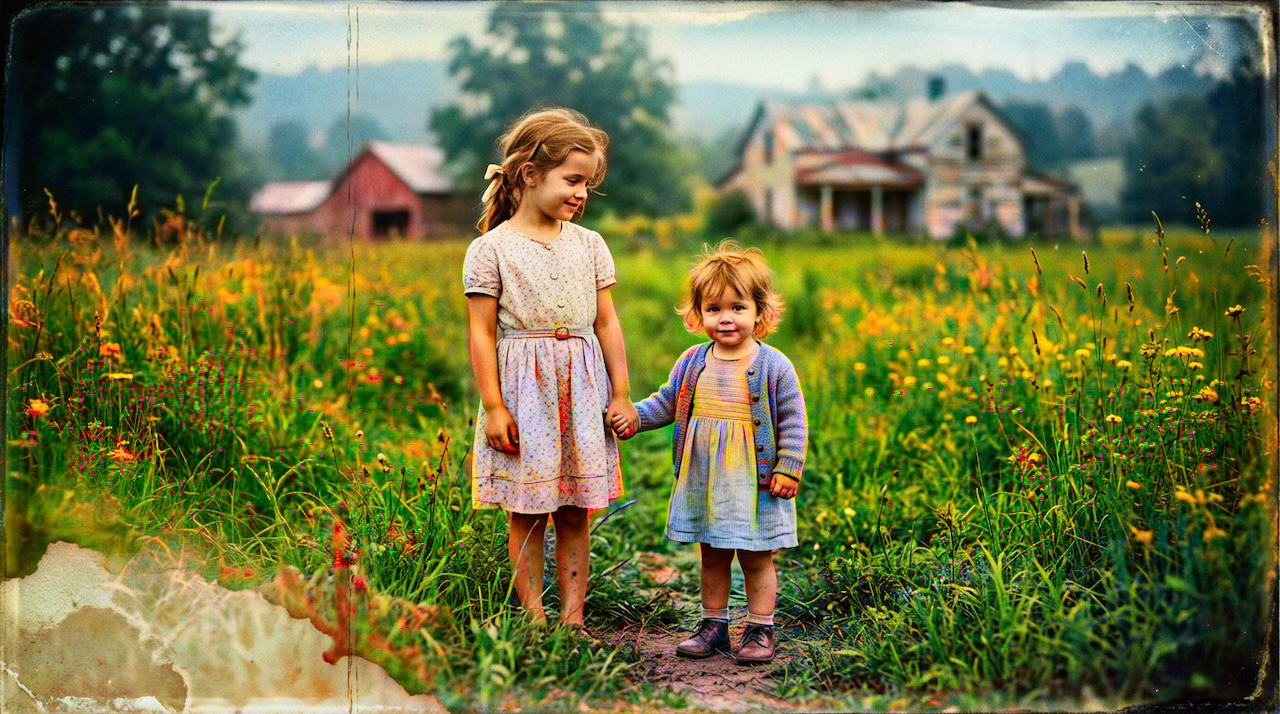 (opens in new tab)
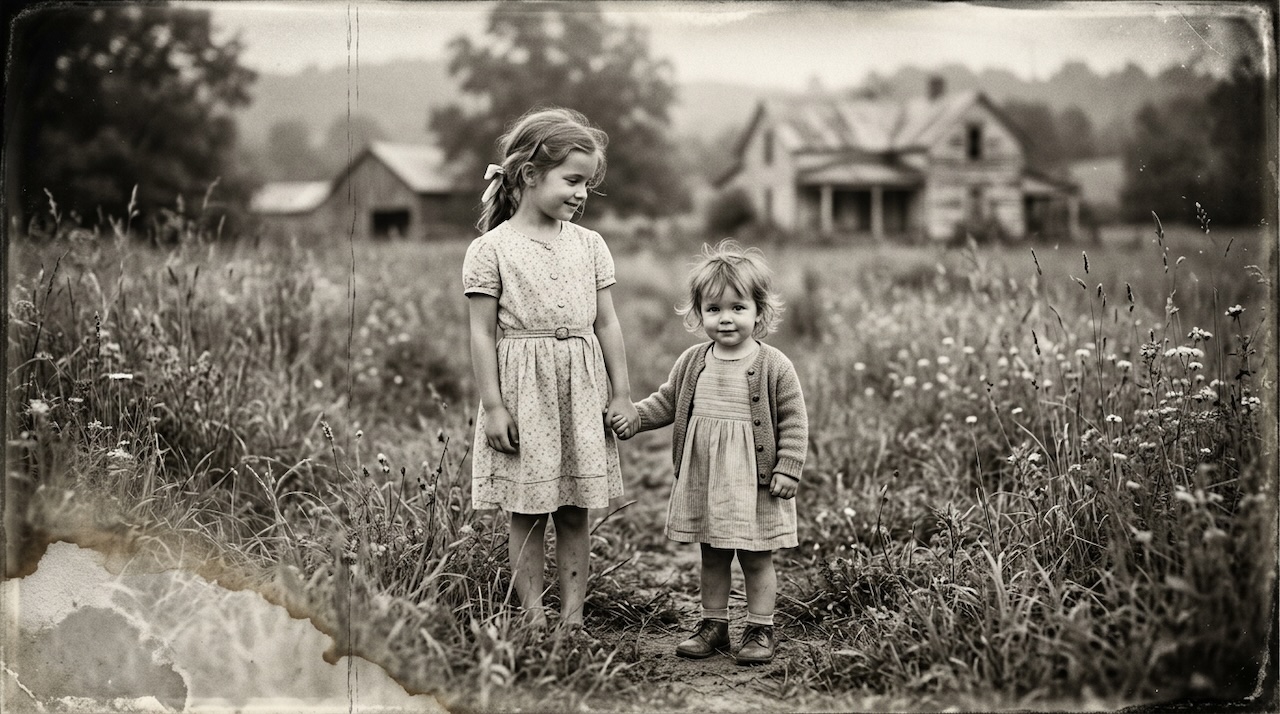
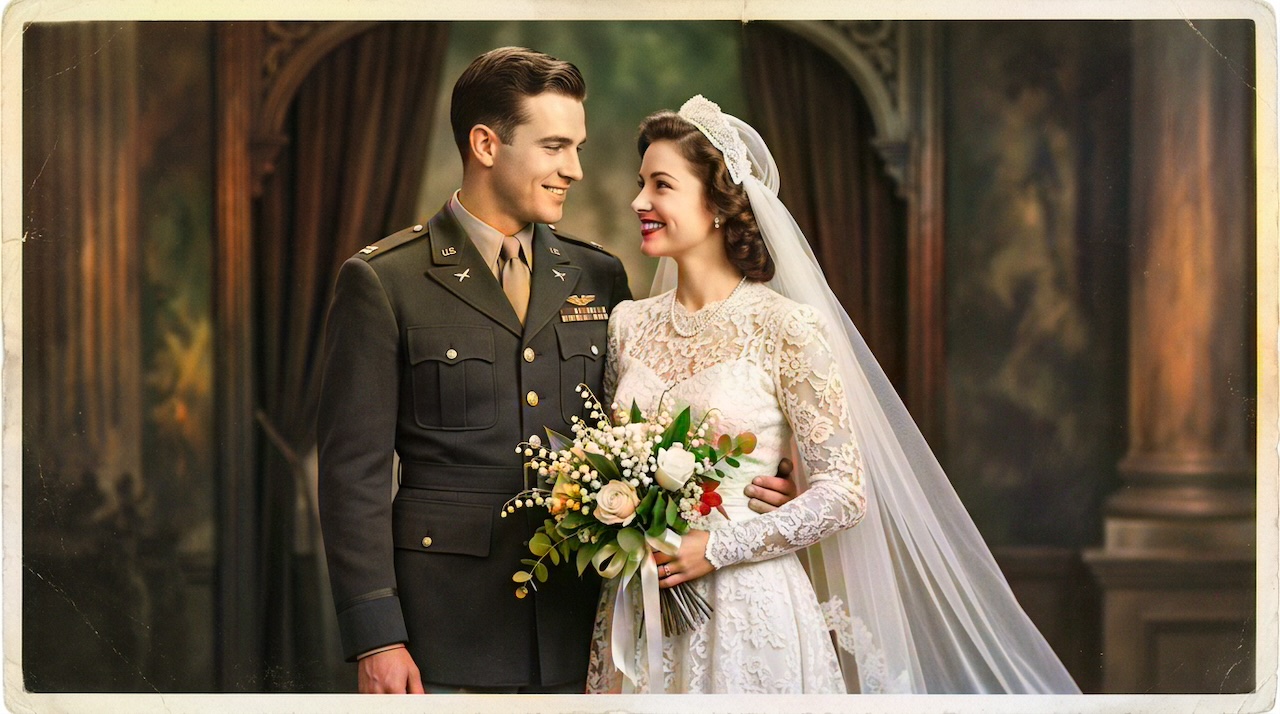
Pixomax Studio result — Rural sisters farmhouse portrait. AI Skin Tone Restoration for Old Portraits: Why It Matters and How to Get It Right.
Click any image to open full size in a new tab.
AI skin tone restoration for old portraits is the single most important quality factor in photo colorization. A landscape can tolerate creative color interpretation — a grandmother's wedding portrait cannot. When skin reads as orange, gray, or waxy, the entire image feels artificial.
This guide explains why skin tones fail, how modern AI fixes them, and the workflow professionals use to colorize vintage portraits with natural, believable results.
Why skin tones are the hardest part of colorization
Human faces are unforgiving viewers. We detect subtle color errors in skin within milliseconds — a survival-level skill hardwired into our visual system.
AI colorizers infer skin color from:
- Luminance gradients — shadow and highlight patterns on cheekbones, nose, and jaw
- Semantic segmentation — identifying face regions vs. hair, clothing, background
- Training data priors — statistical patterns from millions of portrait photographs
When any of these fail, you get the classic colorization artifacts:
| Problem | Cause | Fix |
|---|---|---|
| Orange skin | Oversaturated model output | Use a portrait-tuned Large model |
| Gray/ashen skin | Flat source contrast | Normalize contrast pre-upload |
| Color bleeding | Poor edge detection | Higher-resolution scan input |
| Waxy/plastic look | Over-smoothing | Avoid pre-sharpening; use Large model |
Dive deeper into the technology: AI diffusion models glossary and semantic segmentation.
Preparing portraits for accurate skin tone colorization
Before uploading any portrait for AI skin tone restoration:
- Scan at 600+ DPI — facial detail drives color inference
- Normalize contrast — faded prints produce gray, lifeless skin
- Do not pre-sharpen — let the AI model handle edge detail
- Crop tightly if the face is small in frame — or scan the portrait section separately
- Remove major scratches on faces — inpaint damage before colorization
The AI cannot recover skin tone information that is physically scratched away on the print.
Choosing the right AI model for portrait skin tones
Not all colorization models treat portraits equally:
- Tiny / fast models — acceptable for previews, often flatten skin tones
- Large / quality models — analyze facial structure more carefully, producing warmer, more dimensional skin
- Generic landscape models — may apply green or blue casts to shadow areas on faces
Pixomax Studio's Large model is specifically recommended for portrait skin tone restoration. Upload your scan, inspect the before/after slider at 100% zoom on the eyes, cheeks, and lips — these areas reveal colorization quality fastest.
See portrait colorization pricing →
Evaluating skin tone quality: a 30-second checklist
Zoom to the face and check:
- Cheeks — warm undertone, not orange or magenta
- Forehead highlight — slightly lighter and warmer than cheek midtone
- Shadow under chin — cooler but not gray or green
- Lips — subtle natural color, not bright red
- Hair vs. skin boundary — no color bleeding across the hairline
If two or more checks fail, re-process from the original scan with the Large model rather than editing the export in Photoshop.
Common mistakes that ruin portrait skin tones
- Colorizing a low-resolution phone photo of a print — glare and blur destroy facial data
- Re-colorizing an already-colorized JPEG — compression artifacts compound
- Using aggressive auto-enhance before upload — crushes shadow detail
- Accepting the first result — always compare before/after at full zoom
- Skipping restoration — scratches across cheeks become color artifacts
Batch portrait projects: family reunions and genealogy
When colorizing dozens of portraits for a family reunion or genealogy book, consistency matters as much as per-image quality. Batch processing through Pixomax Studio applies the same Large-model pipeline to every frame — avoiding the skin tone drift that comes from mixing tools or manual edits.
For 20+ portraits, a subscription plan typically costs less per image than one-off credits. Compare batch pricing options →
Frequently asked questions
Can AI fix wrong skin tones in old colorized portraits?
Yes, if you still have the original black and white scan. Re-colorize from the grayscale source using a model optimized for portraits — such as Pixomax Studio's Large model — rather than trying to edit an already-colorized JPEG.
Why do AI colorizers make skin look orange or gray?
Orange casts usually come from models trained on limited datasets or aggressive saturation. Gray or ashen skin often results from poor contrast in the source scan or models that treat all midtones uniformly without semantic face detection.
What is the best AI tool for skin tone restoration on vintage portraits?
Pixomax Studio's Large model is optimized for portrait skin tones on vintage film emulsions. The before/after preview lets you inspect faces at full zoom before downloading.
Does scan quality affect skin tone colorization?
Significantly. Low-contrast, overexposed, or heavily scratched scans give the AI less luminance information to infer natural skin color. Restore contrast and remove major damage before colorizing.
Related guides
 Living Portraits: Bringing Still Memories to Life with Pixomax AI Motion
Turn restored stills into living portraits — AI old photo restoration meets motion synthesis to repair damaged photos, enhance picture quality, and animate a gentle smile for sharing.
 In the Age of AI, Who Owns Your Family Memories? Our Privacy 3.0 Manifest
AI old photo restoration without surrendering your archive — Pixomax Privacy 3.0 explains encryption, zero training retention, and why we never repair damaged photos to feed public models.
 Colorize Wedding Photos with AI: A Complete Black & White Guide
Colorize black and white wedding photos with AI — lace dresses, military uniforms, bouquets, and skin tones restored for heirloom wedding albums.
Compare tools in our AI photo colorizer comparison table or browse the colorization glossary.