How to Restore Family Photos for Free: A Step-by-Step Guide
Learn how to restore family photos for free — scan vintage prints, fix common damage, and colorize black and white memories using free AI tools like Pixomax Studio.
 (opens in new tab)
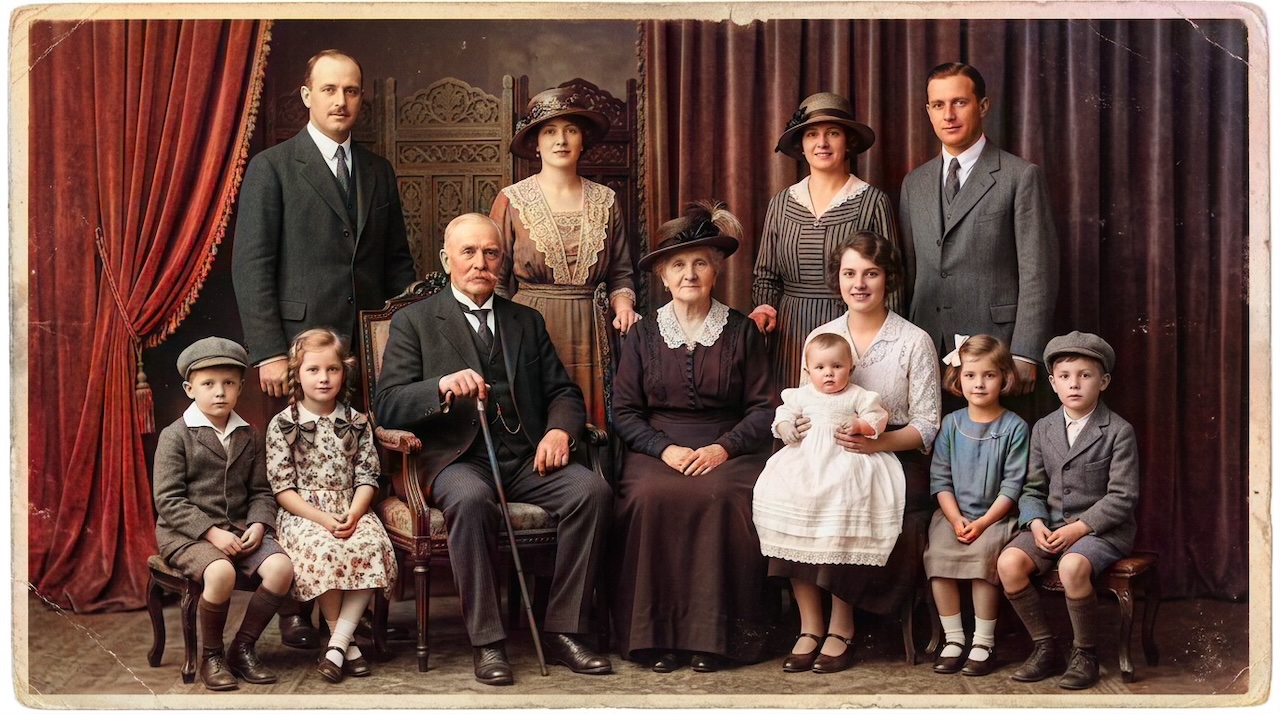 (opens in new tab)
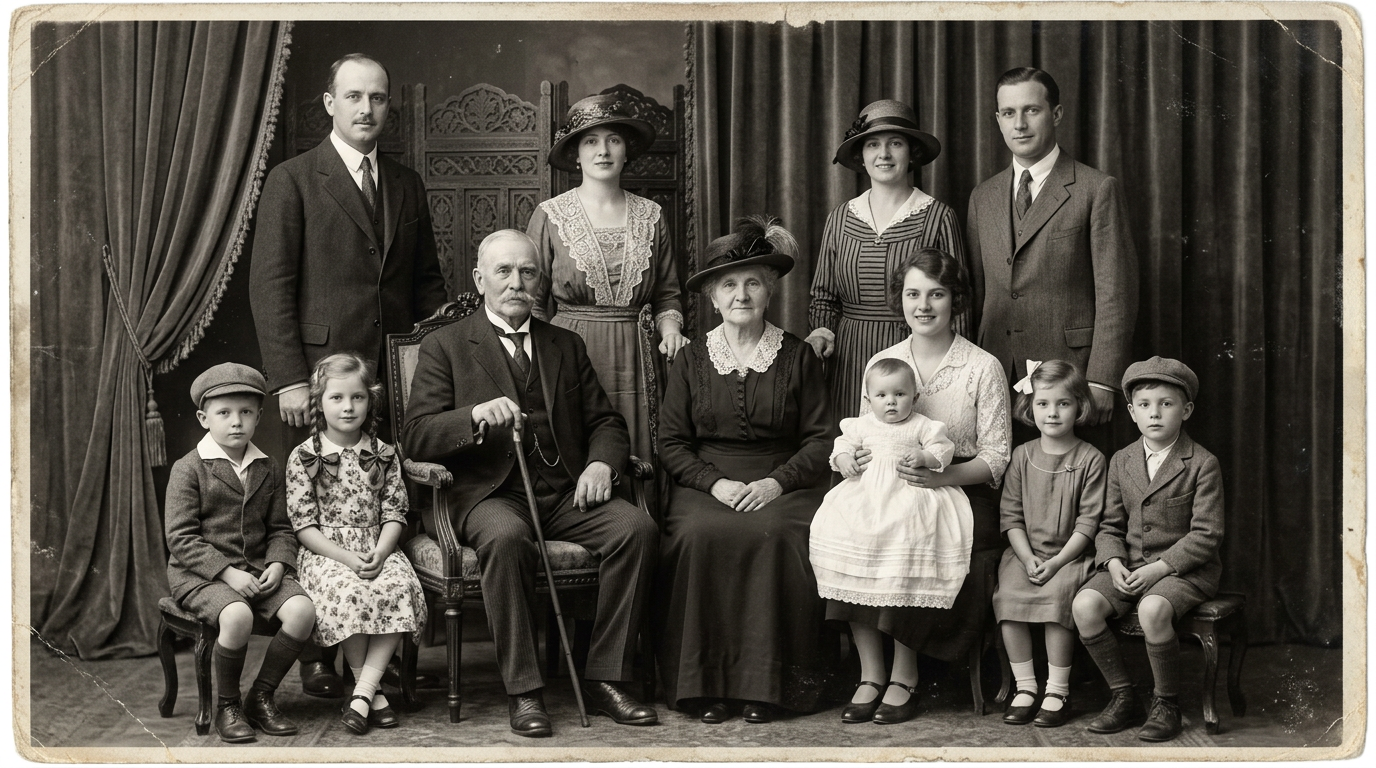
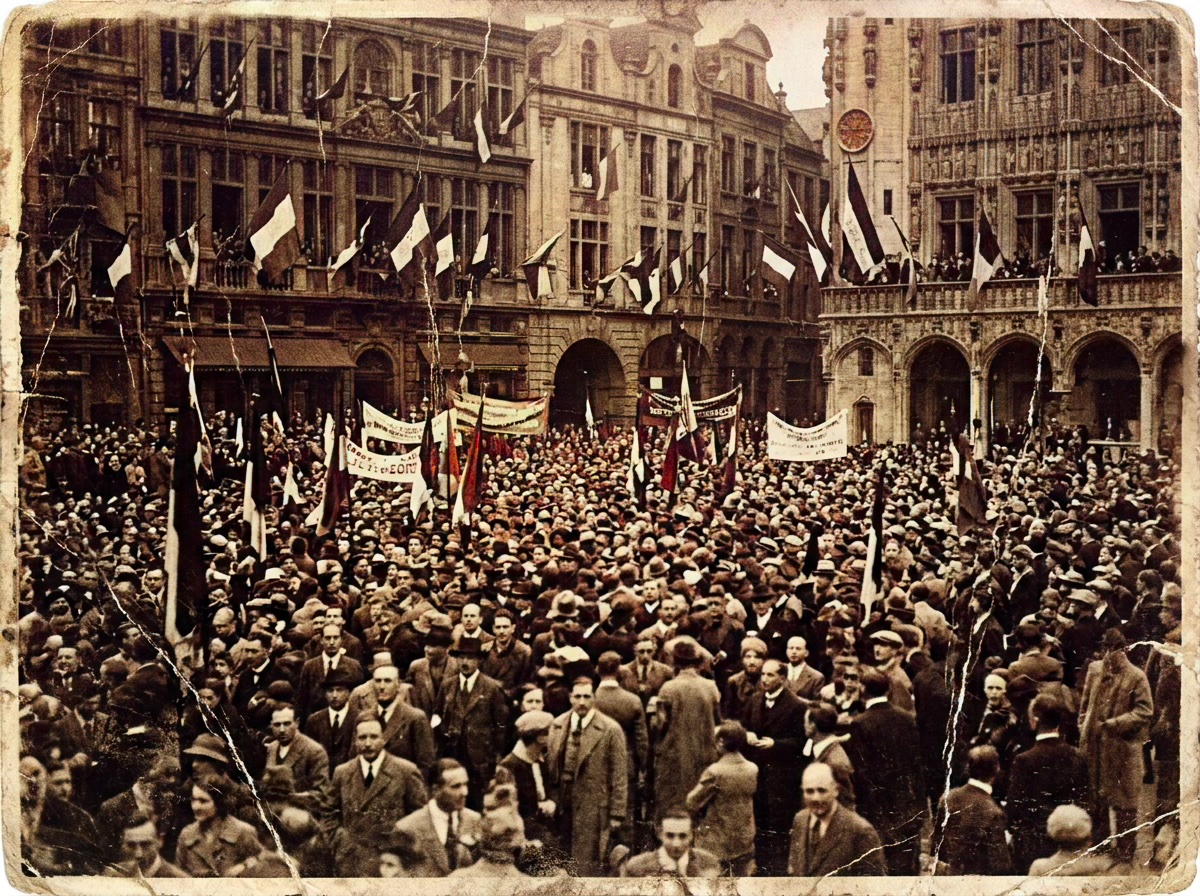
Pixomax Studio result — 1920s three-generation family studio portrait. How to Restore Family Photos for Free: A Step-by-Step Guide.
Click any image to open full size in a new tab.
Wondering how to restore family photos for free? You do not need expensive software or a professional studio to bring faded, yellowed, or black-and-white memories back to life. With a scanner, a few free editing tools, and an AI colorizer, you can rebuild an entire family archive on a budget.
This guide covers the full free workflow — from digitizing shoebox prints to downloading colorized, print-ready files.
Step 1: Gather and assess your photo collection
Before touching a single pixel, sort your collection:
- Good condition — minor fading, ready for colorization
- Needs basic repair — dust, small scratches, crooked scans
- Needs advanced repair — tears, water damage, missing sections
For advanced damage, free AI inpainting tools can help, but severely degraded prints may need professional restoration before colorization pays off.
Step 2: Digitize at the highest quality possible
Free restoration starts with a great scan:
- Clean your scanner glass with a microfiber cloth
- Scan at 600 DPI in color mode (even for B&W prints)
- Save as PNG for editing; convert to JPG only for final sharing
- If scanning is not an option, photograph prints straight-on in diffused daylight
Free tip: Your phone camera works in a pinch, but a $0 library scanner session often beats a rushed phone photo with glare.
Step 3: Basic restoration with free editing tools
These free tools handle the most common fixes:
| Task | Free tool |
|---|---|
| Crop & straighten | GIMP, Photopea (browser) |
| Contrast & exposure | GIMP, Apple Photos, Google Photos |
| Dust & scratch removal | GIMP heal tool, Photopea |
| Batch rename | Free File Renamer utilities |
Focus on three adjustments before colorization:
- Contrast — recover faded midtones without blowing highlights
- Noise reduction — light pass only; heavy smoothing removes facial detail
- Rotation — straighten crooked scans so the AI reads edges correctly
Learn more about the technology in our photo restoration glossary.
Step 4: Colorize for free with AI
Once your scan is clean, upload it to a free AI colorization tier. Pixomax Studio offers free colorizations with no GPU setup — drag your image onto the workbench, pick the Large model for portraits, and use the before/after slider to inspect skin tones.
When your free quota runs out, Pixomax Studio pricing includes affordable credit packs — far cheaper than reprinting damaged originals or hiring a colorist per image.
Step 5: Organize your restored archive
Create a simple folder structure:
Smith-Family-Archive/
├── 01-Original-Scans/
├── 02-Restored-BW/
└── 03-Colorized/
Name files consistently: 1943-graduation-grandpa-bw.png and 1943-graduation-grandpa-color.png. Future genealogists will thank you.
Free vs. paid: when to upgrade
The free workflow covers 80% of family history projects. Consider a paid plan when you need:
- Batch processing for 50+ photos
- Full-resolution exports for large-format printing
- API access for integrating colorization into a genealogy website
See Pixomax Studio free and paid plans →
Frequently asked questions
Can you really restore family photos for free?
Yes. Scanning, basic editing, and AI colorization all have free options. Pixomax Studio offers a free colorization quota, and tools like GIMP handle cropping and contrast at no cost. Professional restoration of severely damaged prints may still require paid services.
What is the best free tool to colorize old family photos?
Pixomax Studio provides the best free tier for colorizing family portraits — natural skin tones, a before/after preview, and no local GPU setup required. DeOldify is free but requires technical self-hosting.
Should I restore or colorize first?
Always restore first. Fix scratches, tears, fading, and contrast issues before colorization. AI colorizers work best on clean, well-exposed grayscale scans.
What resolution should I scan family photos at?
Scan at 600 DPI for standard prints (4×6 to 8×10 inches). Larger originals or photos you plan to print big should be scanned at 800–1200 DPI.
Related guides
 How to Colorize Old Photos with AI: A Complete Guide
Learn how to colorize black and white family photos using AI — from scanning vintage prints to downloading natural, lifelike color results with Pixomax Studio.
 Vintage Summer Photo Colorization: Bring Mid-Century Memories to Color
Colorize vintage summer photos from the 1940s–1960s — picnics, beaches, and backyard gatherings — with AI tuned for natural skin tones and outdoor lighting.
 Living Portraits: Bringing Still Memories to Life with Pixomax AI Motion
Turn restored stills into living portraits — AI old photo restoration meets motion synthesis to repair damaged photos, enhance picture quality, and animate a gentle smile for sharing.
Compare tools in our AI photo colorizer comparison table or browse the colorization glossary.